1 EBIThree.com 2 Clarify Instructions 3 Instructions to Install Dashboard 3 and Configure Data Source
Windows Instructions to Install Dashboard 3
In our post we will review how to generate generate a private/public key pair using GPG. By the end of the post we will have created a public key will contain two keys, one key for signing and a subkey for encryption.
We will incorporate the GPG set-up into Cleo Clarify. In our previous example, we showed users how to incorporate SFTP and PGP into a Business Process.
Pre-Installation Checks
Windows OS
- 2008 R1, R2
- 2012 R2
- Windows 7
- Windows 8
Redhat
- 5.4
- 5.5
Resources
- RAM: 3-4GB
- CPU: 2-2.5GHz
- DISK: 10-40GB
Cleo Clarify
- Server: v3.1.1 or higher
- Studio: v3.1.0 or higher
Installation of Dashboard
Start of Installation

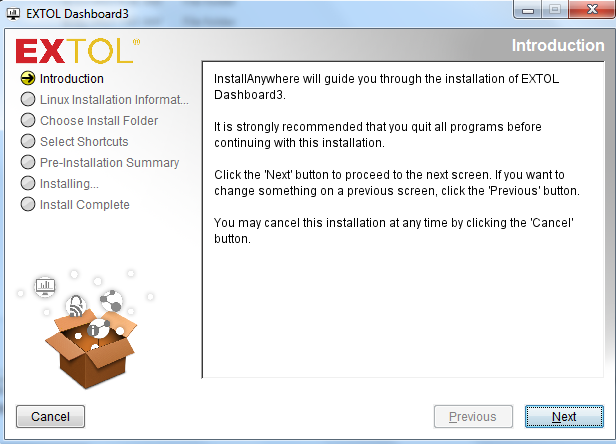
Installation :: Introduction
Installation :: Choose Directory

Installation :: Set-up Shortcuts
Installation :: Pre-Installation
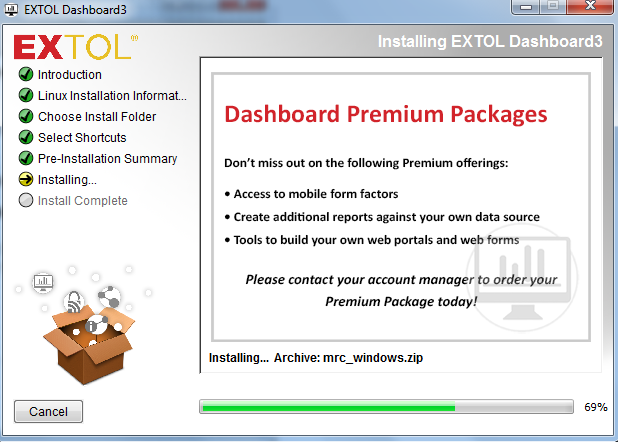
Installation :: Premium Package
Start Dashboard
Users can use Windows Start Menu Shortcuts to Start and Stop Cleo/EXTOL Dashboard
Script Commands
Users can manually start and stop Cleo/EXTOL Dashboard by executing: Install Directory\mrc\production\m- power\tomcat\bin- To start the server - run startup.bat
- To stop the server - run shutdown.bat
Licensing of Dashboard
Cleo/EXTOL emails a temporary Dashboard license. The same steps can be applied to the temp/perm license codes:
1. Go to the following directory in your Dashboard install:
\mrc\production\m-power\mrcjava
Example: C:\EXTOLDashboard\mrc\production\m-power\mrcjava
2. Place the license file (license.jar) in the mrcjava folder.
Login to Cleo/EXTOL Dashboard 3
THEN use this URL...
http://server/EXTOLDashboard/servlet/EBI3.Login
User ID = EBI3Admin
Password = EBI3Admin
User ID = EBI3User
Password = EBI3User
Set-up Data Sources
By: Sean Hoppe on